A professional headshot does not have to look expensive. For most job seekers, the goal is simpler: look current, approachable, and easy to recognize when a recruiter or hiring manager opens your LinkedIn profile, resume, portfolio, or application account.
That matters because a profile photo often works like a small trust signal. It will not replace strong experience, a clear resume, or a thoughtful application, but it can make the rest of your materials feel more complete. A blurry selfie, harsh lighting, old photo, or over-edited AI image can create the opposite effect. It may make a recruiter wonder whether the profile is current, whether the person will look the same on a video call, or whether the candidate is paying attention to details.
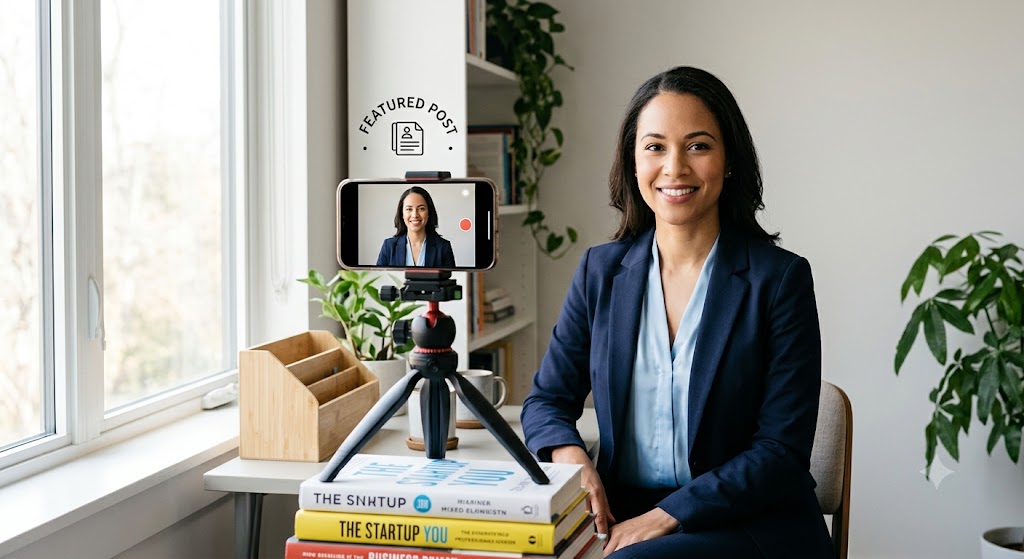
The good news is that you can create a credible headshot at home with a phone, a window, a plain background, and a short review checklist. The best home headshots are not perfect. They are clean, honest, and role-appropriate.
Start With the Job You Want the Photo to Support
Before choosing clothes or a background, decide what kind of professional signal the image should send. A software engineer, school administrator, sales leader, therapist, designer, and operations manager do not need the same photo style. The photo should match the kind of work environment you are trying to enter.
For a corporate, finance, legal, operations, or leadership role, a structured shirt, blouse, blazer, or clean knit usually works well. For creative, startup, education, nonprofit, or service roles, the photo can be a little warmer and less formal, but it should still look intentional. If the role is remote or hybrid, the photo should still feel professional enough for a team directory or video-call intro.
A useful rule: dress one step more polished than what you would wear on an ordinary workday in that role. You do not need to look stiff. You do need to look ready.
Use Window Light, Not Overhead Light
Lighting is the easiest way to improve a home headshot. Stand or sit near a window, facing the window or turning slightly toward it. Soft daylight helps the face look clearer and reduces the shadows that make a quick phone photo look accidental.
Avoid standing directly under ceiling lights. Overhead light often creates shadows under the eyes and nose. Also avoid bright sunlight hitting one side of the face, which can create strong contrast and blown-out highlights. If the window light is too harsh, move farther from the window or use a thin curtain to soften it.
The cleanest setup is simple: window in front of you, camera at eye level, background several feet behind you, and no bright lamps or windows behind your head.
Choose a Background That Does Not Ask for Attention
The background should support the photo, not become the story. A plain wall, tidy office corner, bookshelf, neutral curtain, or clean hallway can work. What matters most is that nothing behind you competes with your face.
Check for visual distractions before taking the photo: door frames cutting through your head, plants that look like they are growing from your shoulder, cluttered desks, laundry, strong patterns, bright posters, or reflective glass. If the background is busy, step farther away from it and use portrait mode lightly. Keep the blur believable. A background that is too artificially blurred can look less trustworthy than a simple wall.
Set the Camera at Eye Level
A common home headshot mistake is holding the phone too low or too high. A low angle can distort the face and make the photo feel casual. A high angle can look like a social-media selfie. For a professional image, place the phone or camera at eye level.
Use a stack of books, a shelf, a tripod, or a laptop stand. Step back enough that the frame includes your head and shoulders, with a little space above your head. If you are using a phone, use the rear camera if possible and set a timer so you are not reaching toward the lens.
Take more photos than you think you need. Small differences in posture, expression, chin angle, and shoulder position matter. Ten minutes of options will usually beat one rushed shot.
Pick Clothing That Frames Your Face
Your clothes do not need to be expensive. They need to be clean, current, and not distracting. Solid colors usually photograph better than tiny patterns, high-contrast stripes, or shirts with logos. Mid-tone colors often work well because they separate from both light and dark backgrounds.
If you are unsure what to wear, choose colors that make your face the focus: navy, charcoal, deep green, soft blue, warm beige, burgundy, cream, or a clean black layer can all work depending on your skin tone and background. Avoid wearing the same color as the wall behind you unless you want your shoulders to disappear.
For a more detailed clothing checklist, LifeHackedAI has a practical guide to LinkedIn headshot examples and what to wear: LinkedIn headshot examples and what to wear.
Keep Editing Honest
A professional headshot can be lightly edited. It should not be transformed into a different person. Basic edits such as cropping, brightness, contrast, color temperature, and small background cleanup are fine. Heavy smoothing, face reshaping, unrealistic skin texture, over-bright eyes, or a completely synthetic studio background can work against you.
Recruiters and hiring managers often see the same person on LinkedIn, a resume, a video call, and sometimes an in-person interview. The image should create recognition, not surprise.
If you use an AI headshot tool or AI-assisted editing, compare the final image against your real source photo. Ask: Would someone who knows me recognize me instantly? Are my face shape, hairline, smile, skin texture, and age still believable? Does the lighting match the background? Do the clothes, hands, glasses, and teeth look natural?
LifeHackedAI also has a home setup guide for people who want a clean professional photo without a studio: how to take a professional headshot at home.
Use This Final Review Checklist
Before uploading the image to LinkedIn, a resume platform, job board, or personal website, review it at the size people will actually see it. A photo can look good full-screen but fail as a small circular avatar.
- Your face is clear, well-lit, and easy to recognize.
- The crop includes your head and shoulders with a little breathing room.
- Your expression looks approachable, not forced or overly serious.
- The background is clean and not distracting.
- Your clothing fits the role and does not pull attention away from your face.
- The image still looks like you after any editing or AI enhancement.
- The photo looks current enough that it would not surprise someone on a video call.
- A Good Headshot Should Make the Rest of Your Application Easier to Trust
A headshot will not get you hired by itself. But it can remove friction. When your profile photo looks current, professional, and consistent with the role you want, it helps your resume, LinkedIn profile, portfolio, and outreach messages feel like they belong to the same person.
The best version is not the most polished version. It is the most believable professional version of you: clear light, simple background, role-appropriate clothing, natural expression, and editing that respects recognition. That is enough for most job seekers, and it is often better than trying to look like someone else.